Setting Up an Email Account in Microsoft Outlook 2010 is very useful to send and receive mail. The following article describes step-by-step how to set up Microsoft Office Outlook 2010 to connect to your Hosting email address using POP3. If you’re setting up your Outlook 2010 email for the first time, then you can configure it by control panel or by searching Outlook 2010 and configuring it. So here we will configure Outlook 2010 through the control panel.
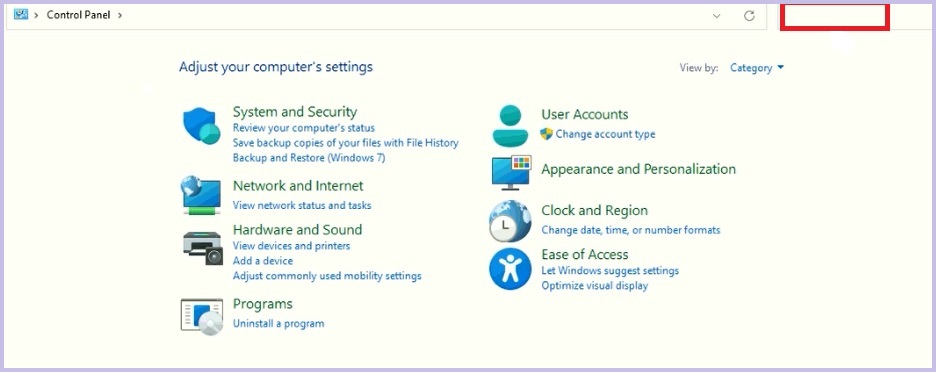
Step 1: Open your control panel
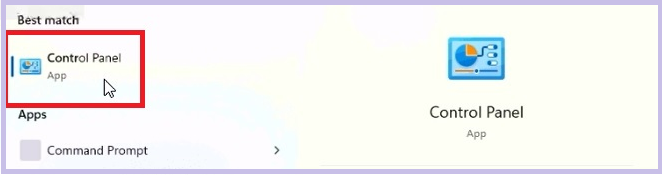
Step 2: Type mail in the search bar
Step 3: Click on Mail(32-bit)

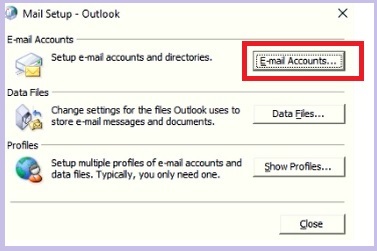
Step 4: Click on E-mail Accounts
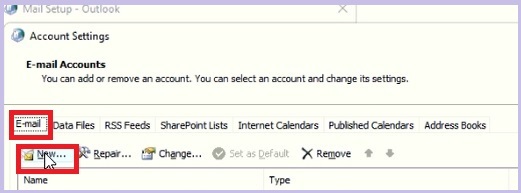
Step 5: Accounts setting:
- You can add or remove an account.
- Select E-mail and click on New
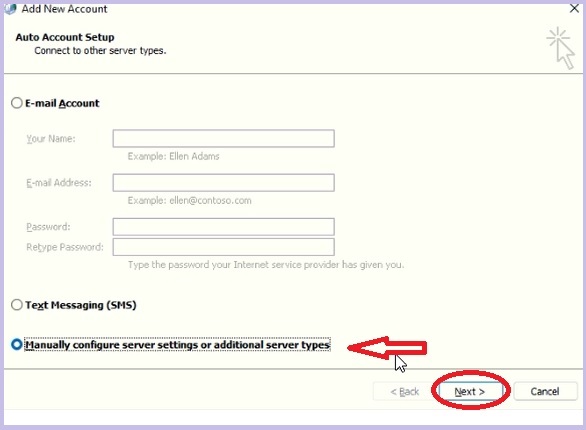
Step 6: Select Manually configure server settings or additional server types and click Next.
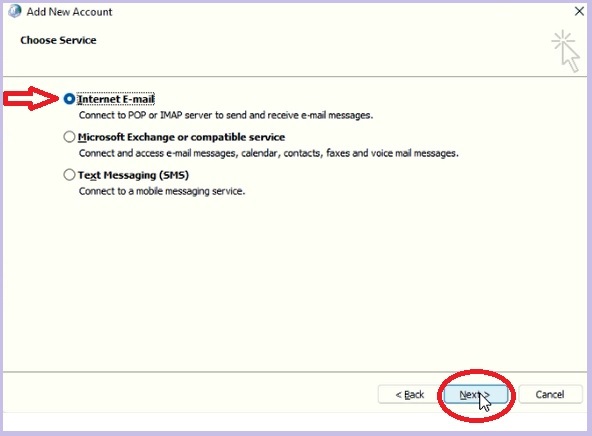
Step 7: Choose Service
Select Internet E-mail and click Next
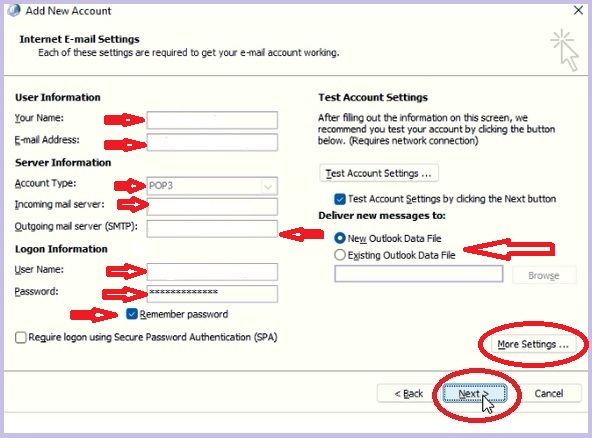
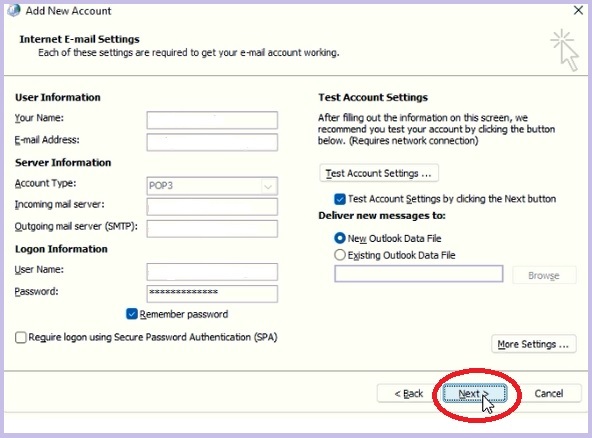
Step 8: Internet e-mail Settings
Each of these settings is required to get your e-mail account working.
- User information: Enter your name and e-mail address
- Server information: Enter account type, incoming mail server, and outgoing server details.
- Logon Information: Enter the username and password
- Click on the More Settings
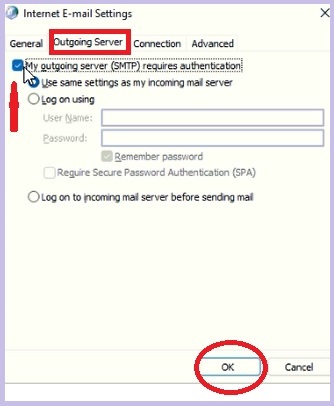
Step 9: Select the Outgoing server
- Select My outgoing server (SMTP) requires authentication
- Click on OK
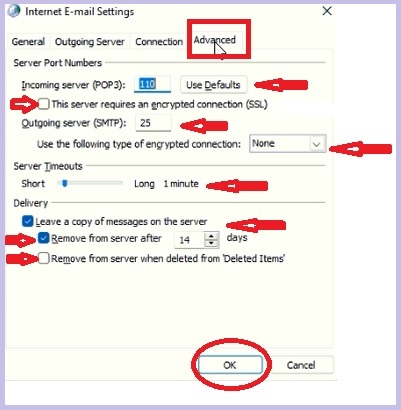
Step 10: Select Advanced options
- Enter incoming server (POP3) port no.
- Select encryption connection (SSL)
- Enter outgoing server (SMTP) port
- Select the encryption connection type
- Select server timeouts
- Choose delivery message settings
- Click on OK
Step 11: Click on Next
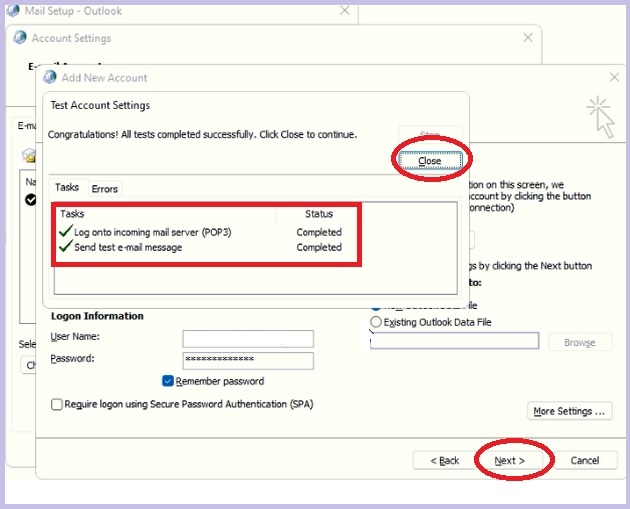
Step 12: If all tests are completed successfully, click Close and Continue
Step 13: Click Finish to close the wizard.
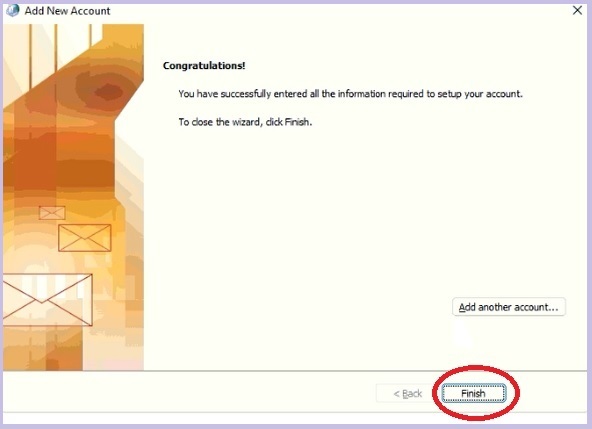
Congratulations! You have successfully entered all the information required to set up your account.
jEnrKkjJanieTJeyMf
qOKVzvFKoVJRvFDkUWLQ
Arlo Garrett
iHwuTjofiurXPBwjccJbnjzHh